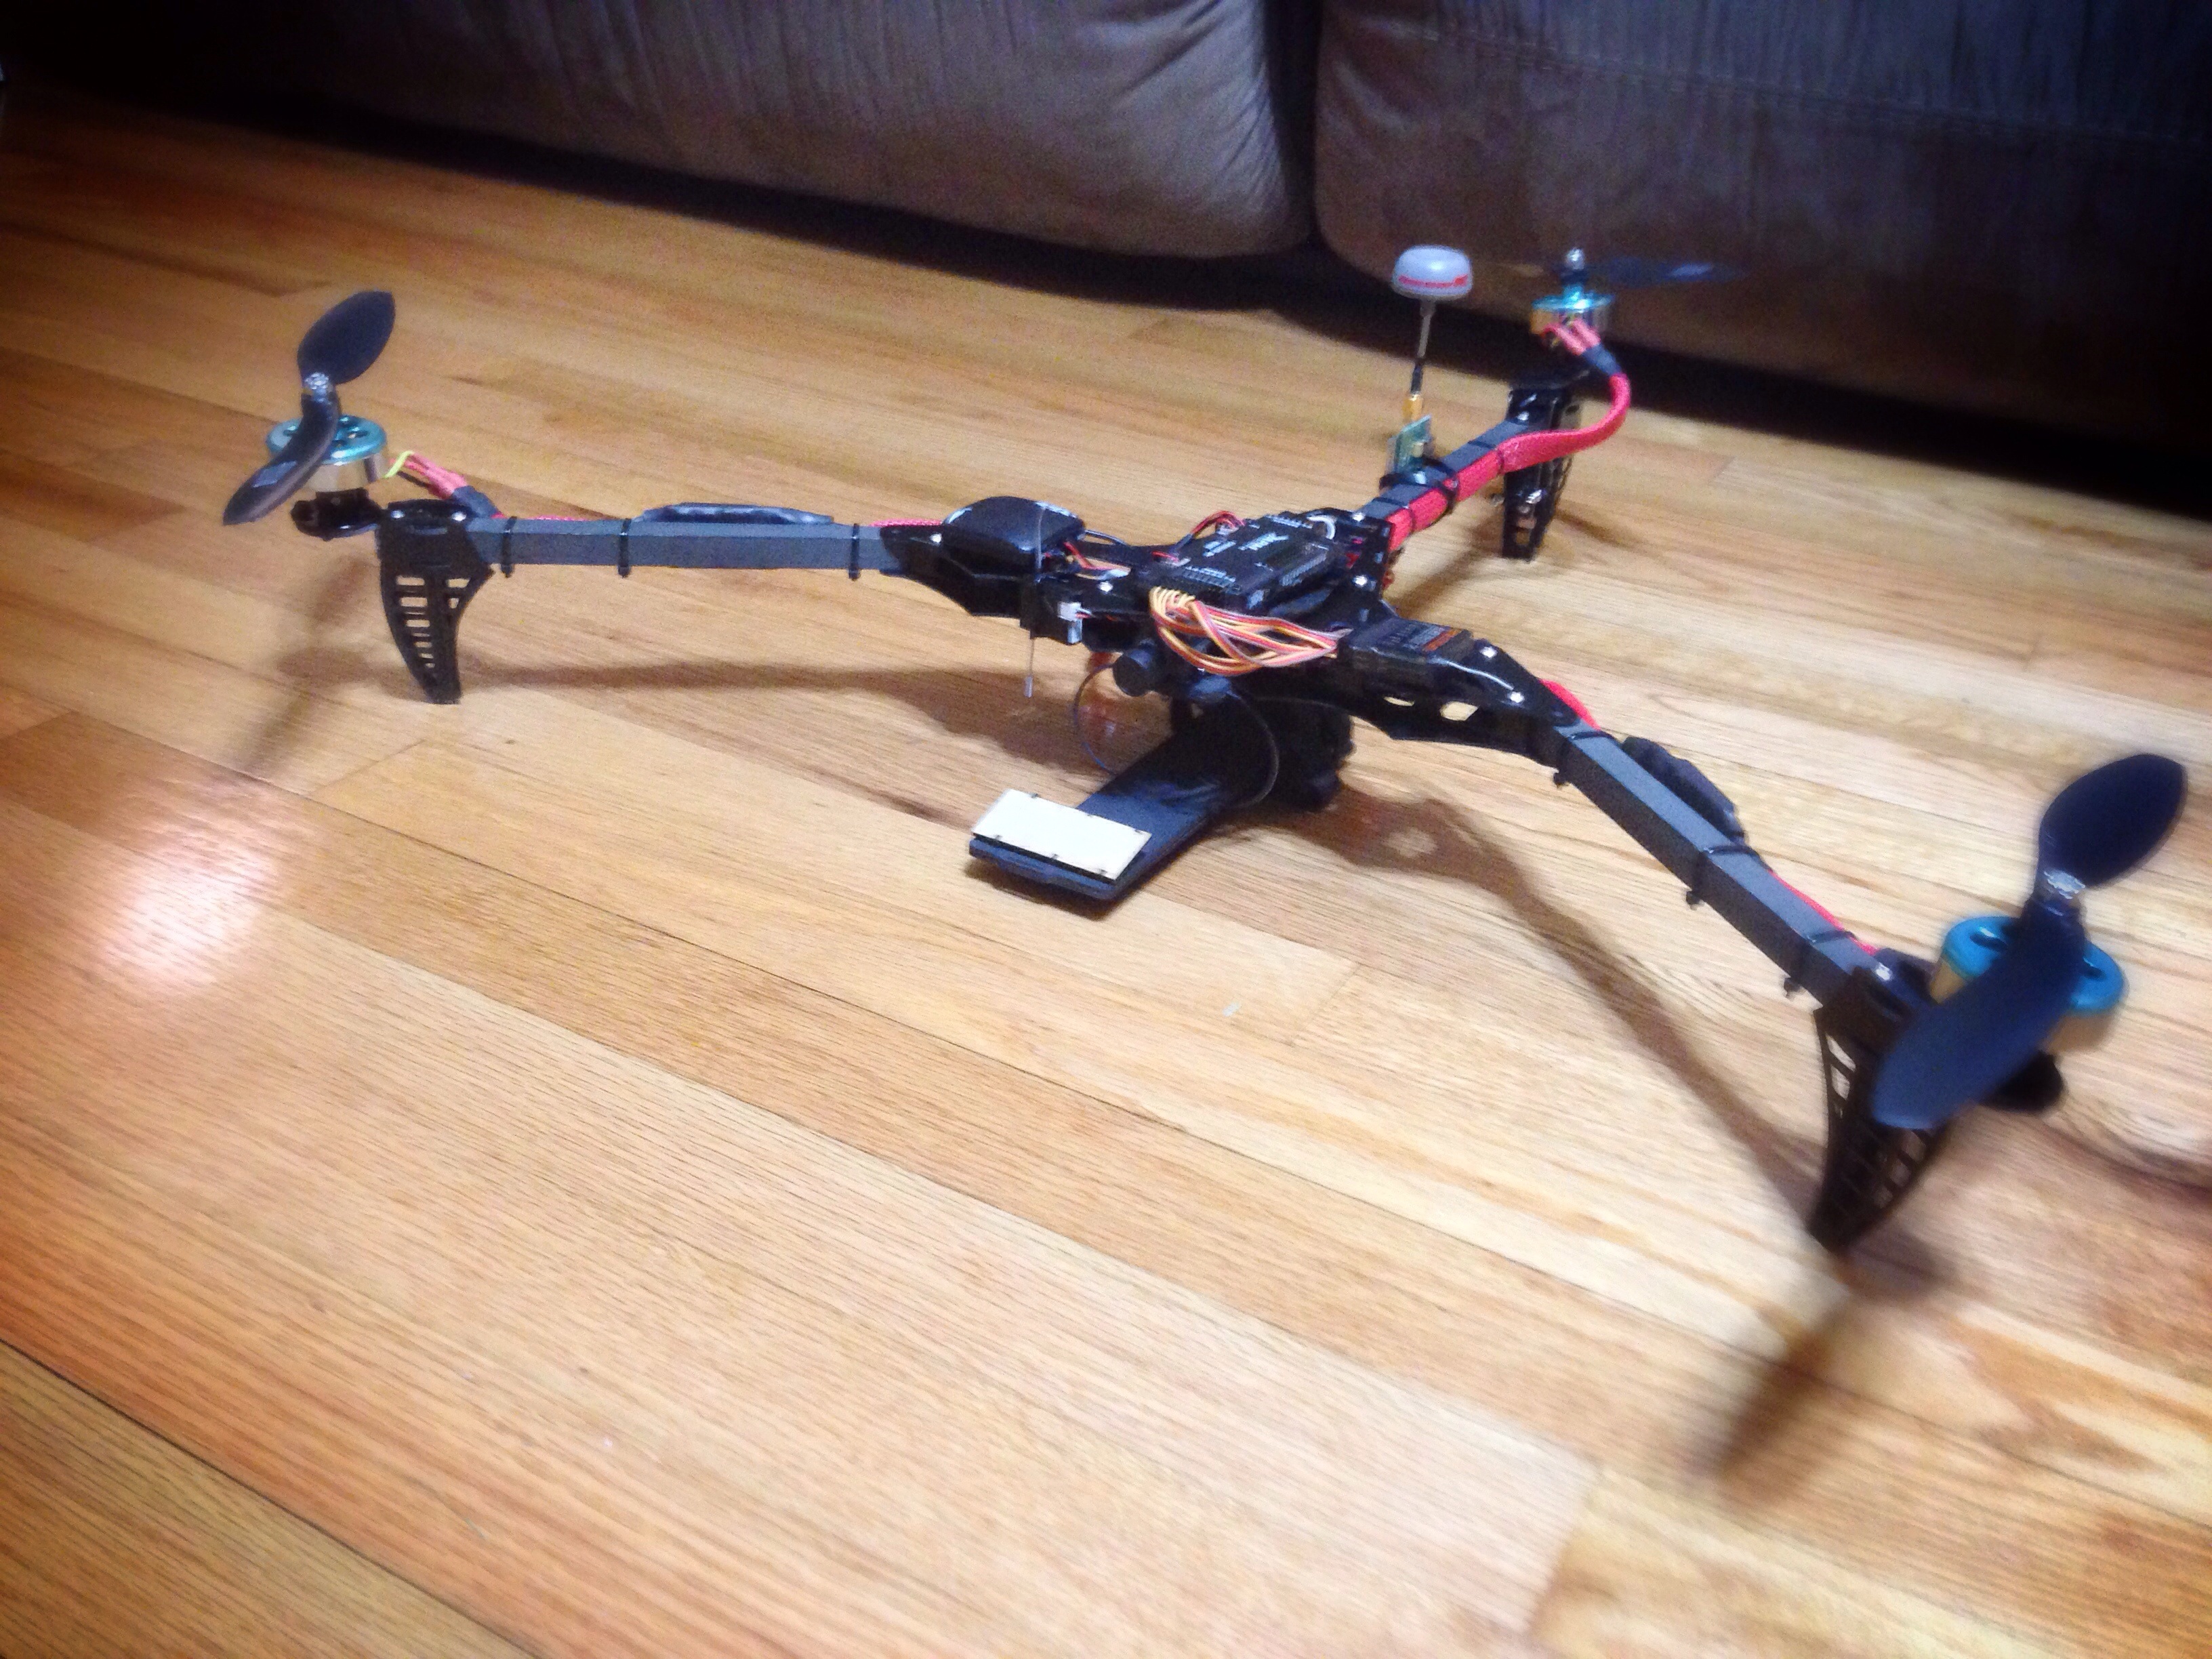
A buddy of mine wrote up a thread over on a Facebook group and I thought I would transfer it here in case it gets lost in the masses that is Facebook. Below is word for word the article by Luke Williams.
Spektrum DSM2/DSMX “non-hack/hack” module for OpenTX official how-to thread
Since there seems to be quite a bit of interest in how I’ve been building Spektrum modules for the FrSky Taranis, I thought I’d make a single post with all of the info together instead of spread about in the comments of about 5 other threads that I hijacked.
What is it?
This is a JR-Compatible form factor module that lets your run native DSM2/DSMX on a FrSky Taranis running OpenTX. That being said, it isn’t truly a JR-Compatible module because it doesn’t use PPM. It WILL NOT work in older PPM-only transmitters with JR module bays. It should work in 9X(R) and possibly some other transmitters running OpenTX or er9x. I’ve not testing on anything other than a Taranis Plus running OpenTX 2.0.12 and 2.0.13. Many others have used it on the original Taranis with 2.0.x firmwares, though. If you build one and test it with another transmitter/firmware combination, please let me know.
Why would I want it instead of the OrangeRX module or a Spektrum DM9?
It allows for Model Match, in-transmitter binding and range check, and automatic switching between DSM2 and DSMX. Latency should also be lower since there isn’t an encoding of PPM by the transmitter that has to then be decoded by the module to create the DSM2 stream. The transmitter is directly sending the DSM2 stream to the module for it to transmit. Once you’ve used it, I don’t think you’d want to go back to the OrangeRX module.
What are the downsides?
You have to gather the parts and build it yourself.
It only supports 6 channels. It is great for BNFs since I know of none that require more than 6 channels. If you have a need for more channels, you are probably going to use a FrSky receiver for other reasons.
What’s required to build it?
1) A case to house it with an antenna
2) A printed circuit board (PCB)
3) A handful of components to interface and power it from the transmitter
4) Last, but not least, a module removed from a Spektrum transmitter
Case:
The most commonly used option is the official Spektrum SPM6817. It includes the case and an antenna and is available directly from Horizon Hobby for $9.50 + $2.99 standard shipping.
http://www.horizonhobby.com/spm6817
The PCB designer also designed a 3D-printable case and documents how to build it here:
http://johnprikkel.blogspot.com/…/3d-printable-jr-module.ht…
and the design is here:
http://www.thingiverse.com/thing:418883
The PCB was designed for the Spektrum case and the printed case was designed to fit the PCB. It is not likely that cases from other JR modules would work as used in some of the other hack modules documented on the web.
The PCB:
Credit and thanks must go to John Prikkel for designing the PCB and sharing his design. The PCB is most easily ordered from OSH Park:
https://oshpark.com/shared_projects/mQXHRTOA
OSH Park only sells boards in increments of 3 with a cost of $16.70 for 3. Shipping to the US is free for First Class mail or $5 for Priority Mail. Their business model is to help provide affordable development boards in small quantities to hardware developers by combining several orders into a single panel and having it manufactured in China. They receive the panel, break it up, and ship out the single orders to each customer. It usually takes a little over a week from the time you order until they ship it out to you. Pretty amazing considering the process.
If you prefer, you can download the .brd design file from the OSH Park link and have it made elsewhere.
Components:
I use Digi-Key, but there are plenty of places to get the parts. If you have a well-stocked junk-box, you may already have most of the parts.
Here’s a Digi-Key cart with single quantity of all parts (currently $5.21):
http://www.digikey.com/short/74twz8
If you are ordering 3 boards anyway, you might as well get 3 sets of the components (currently $15.63):
http://www.digikey.com/short/74twzn
Digi-Key usually ships out same day or next day. First Class mail to my ZIP is $3.22, Priority Mail is $4.99.
Spektrum module:
About the only place to find the module is from a donor Spektrum transmitter. If you know of a direct source for the module, please share. The DX4e and DX5e are popular because they are readily available used from people that received them with an RTF and have upgraded to a higher-end transmitter…or maybe crashed the RTF and got out of the hobby A DX6i module will also work, but a DX6i is usually quite a bit more expensive unless you were to find a broken one. There are also some low-powered transmitters like the HP6DSM and MLP4DSM that can work. I’ve used modules from DSMX versions of the DX5e and DX4e with great success, so I’ll elaborate on that a bit…
Earlier I mentioned 6 channels and many think of the DX4e and DX5e and 4 and 5 channel transmitters. They are both actually limited 6 channel transmitters (channel 5 is the aux switch and channel 6 is momentary with the trainer button) and will give you 6 fully functional channels with the module you build using OpenTX.
If you are careful removing the module, the transmitter will still work fine as a buddy box, gimbal controller, etc., wired to your Taranis or anything else that takes PPM input. I actually sold one on RCGroups to someone that was just looking for a buddy box for their Delta Ray.
Transmitter versions:
(Please correct me if you have more info about this)
Of course, there are mode 1 and 2 versions of them all. That doesn’t matter for this purpose unless you want to use it as a buddy box. There are also some older versions that are DSM2 and don’t support DSMX. My assumption is that the DSM2 modules would not allow you to use DSMX with them in OpenTX. I’ve only tested DSMX versions, though, so I can’t say for sure. It is possible that the limitation was in firmware and not in hardware. If the transmitter is DSMX, there will be a stylized X on the bottom right on the front of the transmitter next to the servo reversing switches and a Spektrum logo on the left side of the switches. If it is a DSM2 version, the Spektrum logo will be on the right and a DSM2 logo will be on the left. Key here is to look for the X.
Obtaining a transmitter:
eBay, RCGroups, and Craigslist are places to watch. You might check with your local hobby shop. They might have a broken one laying around. It seems that there are enough people looking for them that prices have been driven up a bit. Common used priced shipped in the US have been hovering around $30 – $40, but I’ve seen some go for more and some for less. Remember that a new DX5e is currently $59.99 direct from Horizon and until the end of 2014, includes a free AR400 receiver. Not a terrible option if you can’t find a good deal and have a use for a basic 4-channel DMX receiver with no frills or just don’t want to hassle with used sources. You could even combine shipping with the case that you are already buying from Horizon.
Removing the module:
Basically, remove the 4 screws from the back of the TX and pull it apart. Remove the 5 screws from the main board and turn it over. Most of the wiring can be easily removed with 3 connectors. If you don’t care about the TX, just cut it all out. Follow the antenna cable to the module. Carefully de-solder the 2×6 pin header from the main board, leaving the header on the module. Cut out the double-stick tape holding the module in. You have to do these steps almost simultaneously. This is by far the most difficult part of the build unless you have a good de-soldering station. De-soldering braid has worked well for me, but it takes some patience.
Building it:
If you have the board and parts in front of you, this is self-explanatory except you need to know the following: R1 is 4.7K, R2 is 1K, C1 is 1uF, and C2 is 10uF. Also, be sure to observe proper polarity on C1, C2, and D1. Once the board is built, the module will just plug into the 2×6 socket you soldered onto the board. You could also do away with the socket and just solder the header to your new board like it was in the transmitter.
Rough cost to build including standard shipping to the US and not counting a donor TX:
Single Unit:
Case: $12.49
PCB: $16.70
Parts: $8.43
TOTAL: $37.62
Three Units:
Cases: $31.49
PCBs: $16.70
Parts: $18.85
TOTAL: $67.04 / $22.35 each
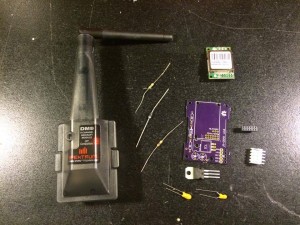
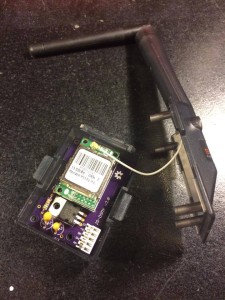
To use the module, configure a model like normal. Go to the Model Setup page and set Internal RF to OFF and External RF to DSM2 and DSMX. Set your channel range to whichever Taranis channels you want to map to Spektrum channels 1-6. Set a unique Receiver No and bind like you would a FrSky receiver.

